An Artist’s Guide to Publishing UPM Packages for Unity
Gary Ritchie, March 31, 2026
A concise guide for independent 3D modelers, UI designers, and tech artists on how to package your assets and ship updates during iterative development to your team.
Introduction
As artists, we love building worlds. What we don’t love is a messy Assets folder.
We’ve all been there: your Unity project is a jumble of test textures, old model versions, and demo scenes. Even worse is trying to share your work. Zipping up folders, worrying if you copied the .meta files, and accidentally overwriting a teammate’s prefab is a recipe for frustration. Unity packages ease some of the pain of sharing but are best for final assets. Nothing’s really "final" in this line of work, is it?
There’s a better way: The Unity Package Manager (UPM).
You might think of UPM as strictly a "programmer thing," but it’s one of the most powerful tools an artist can learn. It’s like wrapping your assets in a professional package delivery system that you can plug into any Unity project.
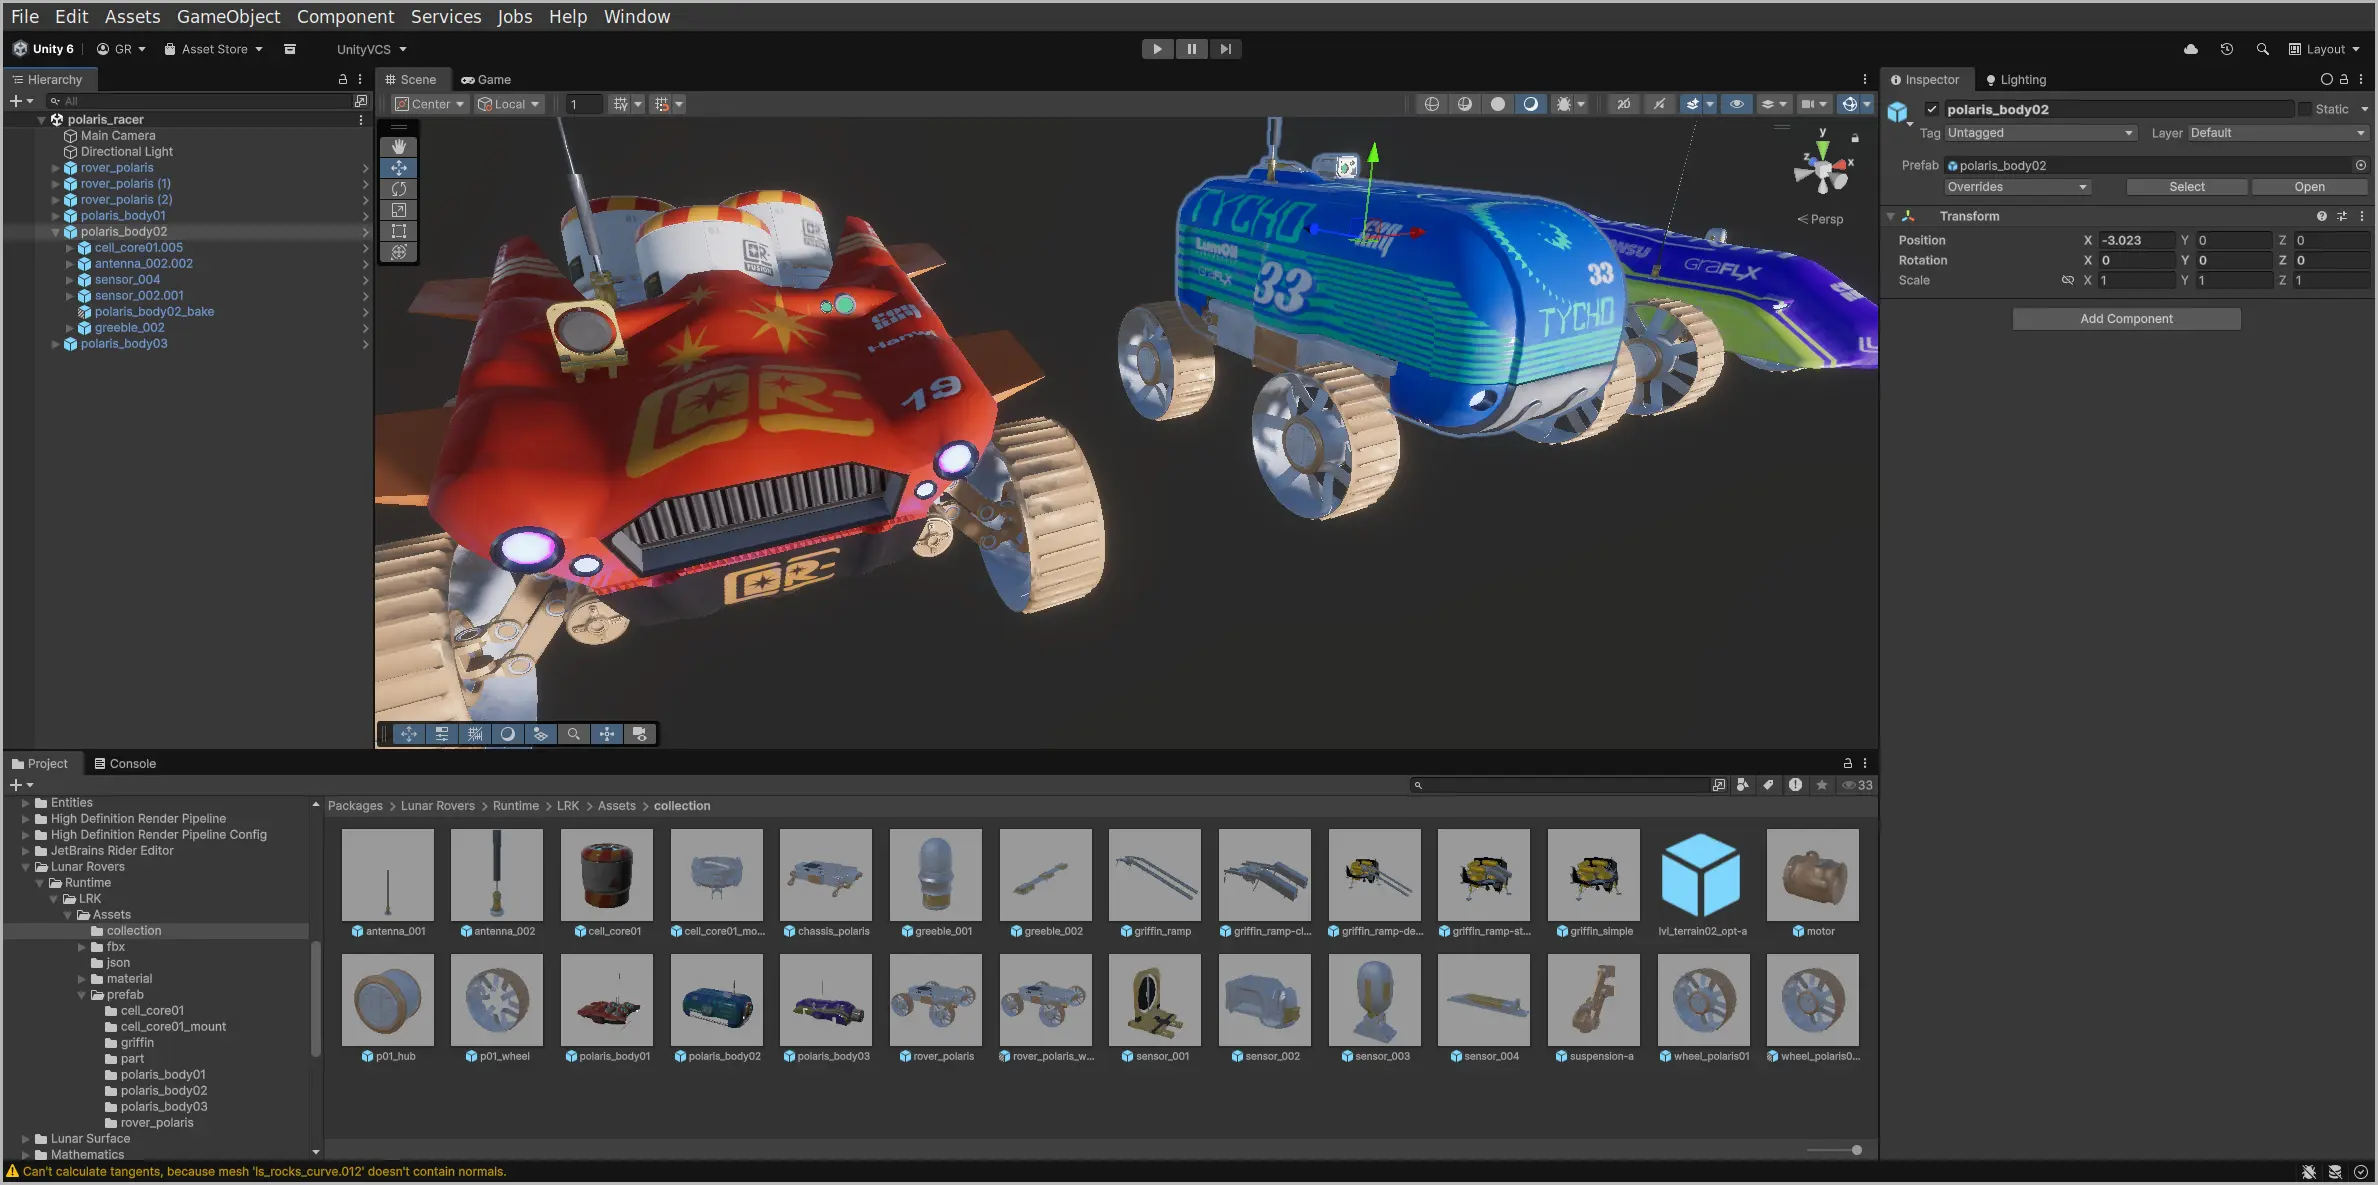
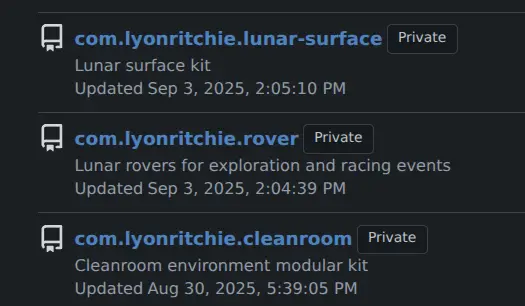
On our recent project, Cosmic Careers, we used this method. Instead of putting all the environment art, rover models, and UI elements into the main Assets folder, we delivered them as separate UPM packages: a "Cleanroom Kit," a "Rover Kit," and a "Lunar Surface Kit."
Delivering via UPM allowed us to decouple from the main development effort. Early concepts and placeholders could delivered and used in blockouts and, as development progressed, updated when the package was updated from the repository.
This guide will show you how to do the same, using our rover kit as the example.
Setting Up
To get started you’ll want the following:
- Assets: A folder containing your art assets for packaging (e.g.,
MyProject_Kit) or download a Zip file of our starter kit. - A Code Editor: I’m currently using VSCodium. It’s free and lightweight.
- Sharing: Optional – if you’re a team of one.
- A Git hosting account: Bitbucket, Codeberg, Gitea, GitHub, GitLab, etc. Not strictly required, but it can help with sharing. This will be our "store shelf" for the package.
To get files uploaded to one of these you’ll use Git:, a free command-line tool. GUIs exist, including the one built-in to VSCodium. This is the part that feels "techy," but you only need a few basic commands. - or a protocol/app: Syncthing is one of my favorites. There’s also good old sftp, WebDAV, etc.
- A Git hosting account: Bitbucket, Codeberg, Gitea, GitHub, GitLab, etc. Not strictly required, but it can help with sharing. This will be our "store shelf" for the package.
The Packing List
Every UPM package must have a package.json file at its root. This file is the "packing list" that tells Unity all about your package.
This is the only "code" file you need to create, and it’s just text.
- Create a new folder for your package. Important: The folder name doesn’t matter for the import, but the name inside the
package.jsondoes. - Inside that folder, create a new file named exactly
package.json. - Open it in VS Code and paste in the following.
{
  "name": "com.myorgname.myupmkit", 1
  "version": "0.1.0", 2
  "displayName": "My Project - Demo Kit", 3
  "description": "Describe the wholesome qualities of your art.", 4
  "unity": "6000.0", 5
  "dependencies": {},
  "keywords": [
    "3d",
    "art",
    "prefabs",
    "demo"
  ],
  "author": { 6
    "name": "Myfirstname MyLastname",
    "url": "https://myorgname.com"
  }
}- Name (Required): The most important field. This must be in reverse domain-name format:
com.companyname.packagename. It must be all lowercase. - Version (Required): The current version. Use
Major.Minor.Patch. Start with0.1.0. - Display Name (Required): This is the "pretty" name that shows up in the Unity Package Manager window.
- Description: Tell people (and your future self) what’s in this package.
- Unity: Minimum version of Unity supported
- Author: That’s you!
package.json from our rover kit (redactions).{
"name": "com.myorg.rover",
"version": "1.2.2",
"displayName": "Lunar Rovers",
"description": "Rovers for exploration, racing events",
"documentationUrl": "https://git.example.com/org/com.myorg.rover",
"changelogUrl": "https://git.example.com/org/com.myorg.rover/src/branch/main/changelog.md",
"licensesUrl": "https://git.example.com/org/com.myorg.rover/src/branch/main/license.md",
"keywords": [
"moon",
"rover",
"vehicle"
],
"author": {
"name": "Gary Ritchie",
"email": "info@example.com",
"url": "https://example.com"
},
"samples": [
{
"displayName": "Rover Kit demo",
"description": "Lunar rovers, racing bodies.",
"path": "Samples~/rovers"
}
]
}Assembly
Now that you have your "packing list," you need to get things ready to ship. UPM has a few special folder names and required structure.
package.json: This file, you just created, must be at the root of your package folder.Runtime: This is where most of your art assets go. Prefabs, Models, Textures, Materials, etc.Samples~: This folder is special. The~at the end hides it from Unity by default. This for your Demo Scenes, prefabs, or example materials. A user can then import them from the Package Manager window if they want.README.md: A text file explaining how to use your assets.CHANGELOG.md: A log of what you’ve changed (e.g., "Version 1.0.1: Fixed rover wheel texture.").
Your final package folder should look something like this:
roverkit/
├── package.json
├── README.md
├── CHANGELOG.md
├── Runtime/
│   ├── Materials/
│   │   ├── Rover_Red.mat
│   │   └── Rover_Blue.mat
│   ├── Models/
│   │   └── Rover.fbx
│   └── Prefabs/
│       └── Rover_Prefab_Red.prefab
└── Samples~/
    └── DemoScene/
        └── Rover_Showcase.unity
For example, here’s a partial listing of the com.lyonritchie.rover package folder. I removed the .meta files to make it more concise:
com.lyonritchie.rover/
├── Runtime/ 2
│   ├── LRK/
│   │   ├── Assets/
│   │   │   ├── MaterialTemplate.mat
│   │   │   ├── collection/
│   │   │   │   ├── antenna_001.prefab
│   │   │   │   ├── antenna_002.prefab
│   │   │   │   ├── cell_core01.prefab
│   │   │   │   └── ... <additional files>
│   │   │   ├── fbx/
│   │   │   │   ├── _fbx.txt
│   │   │   │   ├── cell_core01/
│   │   │   │   │   ├── cell_core01_bake.fbx
│   │   │   │   ├── cell_core01_mount/
│   │   │   │   │   ├── Scifi_Set_Vol1_Aurora.045.fbx
│   │   │   │   │   ├── cell_core01_socket.fbx
│   │   │   │   │   ├── kb_mesh.037.fbx
│   │   │   │   └── ... <additional files>
│   │   │   ├── material/
│   │   │   │   ├── AutoDeskInteractive_emit.shadergraph
│   │   │   │   ├── Chrome-orange_style-b.mat
│   │   │   │   ├── Chrome-rover_style-b.mat
│   │   │   │   ├── ... <additional files>
│   │   │   │   └── textures/
│   │   │   │       ├── Rock033_1K-JPG_Displacement.jpg
│   │   │   │       ├── bake_body01_BaseColor.png
│   │   │   │       └── ... <additional files>
│   │   │   ├── ... <additional files>
│   │   │   └── prefab/
│   │   │       ├── cell_core01/
│   │   │       │   ├── cell_core01_bake.prefab
│   │   │       ├── cell_core01_mount/
│   │   │       │   ├── Scifi_Set_Vol1_Aurora.045.prefab
│   │   │       │   ├── cell_core01_socket.prefab
│   │   │       │   ├── kb_mesh.037.prefab
│   │   │       └── ... <additional files>
├── Samples~/ 3
│   ├── rovers/
│   │   ├── New Lighting Settings.lighting
│   │   ├── polaris.unity
│   │   ├── polaris_racer/
│   │   │   ├── LightingData.asset
│   │   │   ├── polaris_racer Baking Set.asset
│   │   ├── polaris_racer.unity
│   │   └── ... <additional files>
├── changelog.md
├── license.md
├── package.json 1
├── readme.md
├── Runtime
├── Samples~
└── third_party_notices.mdpackage.jsonfile at the root.Runtimefolder, where core assets live.Samples~folder, for demo scenes.
Publishing with Git
With our package packed and labeled lets put it where Unity can access it. We’ll use a public GitHub repository.
- Create a New Repository: Go to your GitHub account and create a new, public repository. Name it something clear, like
upm-roverkit. Upload Your Files: This is the git part. Open a terminal or command prompt,
cdinto your package folder, and run these commands. (If this is new to you, check out a [quick git tutorial](https://github.com/git-guides) first).# This only needs to be done once per folder git init git remote add origin https://github.com/YourUsername/upm-roverkit.git git branch -M main # Run these commands every time you want to "publish" an update git add . git commit -m "Initial release v1.0.0" git pushTag Your Release (Recommended): To lock in your
1.0.0version, create a "tag." This is how UPM finds specific versions.git tag 1.0.0 git push --tags
Special Delivery
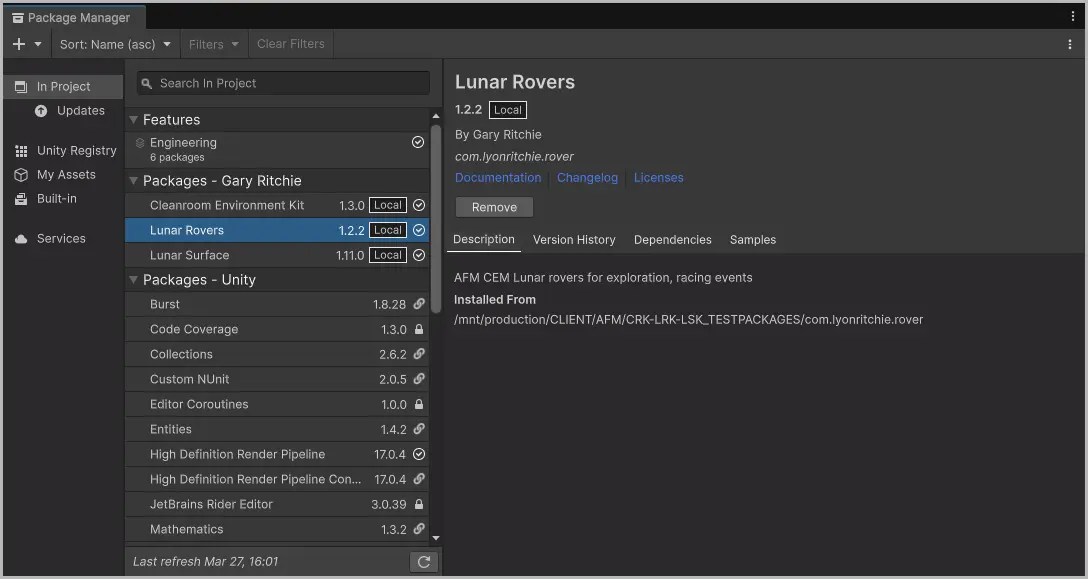
This is the magic moment. You can now add your "Rover Kit" to any Unity project.
- Open your Unity project.
- Go to Window › Package Manager.
- Click the plus icon + in the top-left corner.
- Select "Add package from git URL…"
Paste in your GitHub repository’s URL (the one ending in
.git).`https://github.com/YourUsername/upm-roverkit.git`
That’s it! Unity will download your package, and you’ll see "Rover Kit" in your package list. Your assets will appear in your Packages folder (not your Assets folder!), ready to be used.
The Payoff: A Cleaner, Saner Workflow
You’re done! You now have a modular, shareable, and version-controlled art package.
The benefits:
- Clean Projects: Your main
Assetsfolder stays clean. - Easy Updates: Updated a texture? Just push the change to GitHub (and maybe tag a new version like
1.1.0). Your team can get the update in the Package Manager with one click. - No More Conflicts: No more "who overwrote the prefab" nightmares.
- Reusable Assets: Use your "kit" in a new project just by adding the git URL.
It might seem like a few extra steps at first, but adopting a UPM workflow for your art assets is one of the best ways to organize your Unity projects and improve collaboration.
Risks, gotchas, notes
- UPM packages are immutable – what is great for you could be frustrating for your team. Discuss what should be writable. One option would be via the Samples folder.
- Understand the risks of infrastructure you don’t control, e.g. GitHub. GitHub isn’t git so there are numerous git repository hosting and file transfer options.
I’d love to know if this was helpful or not. Get in touch!
Cheers,
Gary
gary@lyonritchie.com
Bluesky,
LinkedIn,
Mastodon,
X